Congratulations! You’ve just had your roof replaced. And from afar, everything seems perfect. But you go to take a closer look, and you spot something odd: your new roof shingles aren’t lying flat!
Before you run your imagination and wait for the next gush of wind to blow your roof away, take a moment to breathe. This is actually a pretty common issue and doesn’t necessarily mean something’s gone wrong. That being said, it’s not something you should just brush off. In this blog, we will walk you through why your new roof shingles might look bumpy, how serious the situation could be, and what you should consider doing next.
You might also like

First: What Are the Sneaky Signs of a Bigger Problem?
While visual cues like slight waviness are common post-installation, there are some red flags you should look out for. So, let’s get visual. Walk around your home and look closely at the roof:
- Are the edges curling?
- Do you see any buckling or bulging?
- Are there missing tabs that break the uniform look of your roof?
- Does the surface look uneven or wavy, especially near the ridge?
If you have answers ‘Yes’ to any of these, you’re not imagining things – your shingles are not lying flat!
Buckled shingles: These form ridges or ripples that run vertically and can signal moisture beneath a warped deck.
Curling edges: A classic sign of improper installation or failure to seal.
Cracked shingles: Often due to harsh weather, poor materials, or overexposure during storage.
These aren’t just cosmetic issues. Seeing these can mean your roof failing on you prematurely! Let’s break down the possible causes to get to the root of it.
The ‘Let It Settle’ Phase: Why Today’s shingles might not be laying flat
Most commonly, homeowners see new roof shingles not laying flat shortly after installation. The good news? Often, it’s temporary. It’s just that they haven’t sealed yet! This is by far the most common reason. Shingles need time to seal; it’s called thermal sealing, and it happens naturally over time with exposure to sun and heat. If your new shingles look wavy or raised, it may just be because they haven’t settled yet.
On average, this sealing process can take anywhere from a few warm days to a few weeks. Installed your roof in winter? Then, the process will take even longer.
In most cases, shingles lie flat on their own after one to two weeks of sunshine. If they still look off after a full month, it’s worth inspecting further.
When is it NOT a waiting game?
Misshapen Shingles Out of the Box
At times, the shingles themselves can be a problem. Roofing shingles come in bundles. Depending on how they were shipped, shingles could arrive damaged and look compressed or crimped. The shingles could have been distorted to the point that they would never settle in properly. This could result in curling or warping, even when the installation was pitch-perfect.
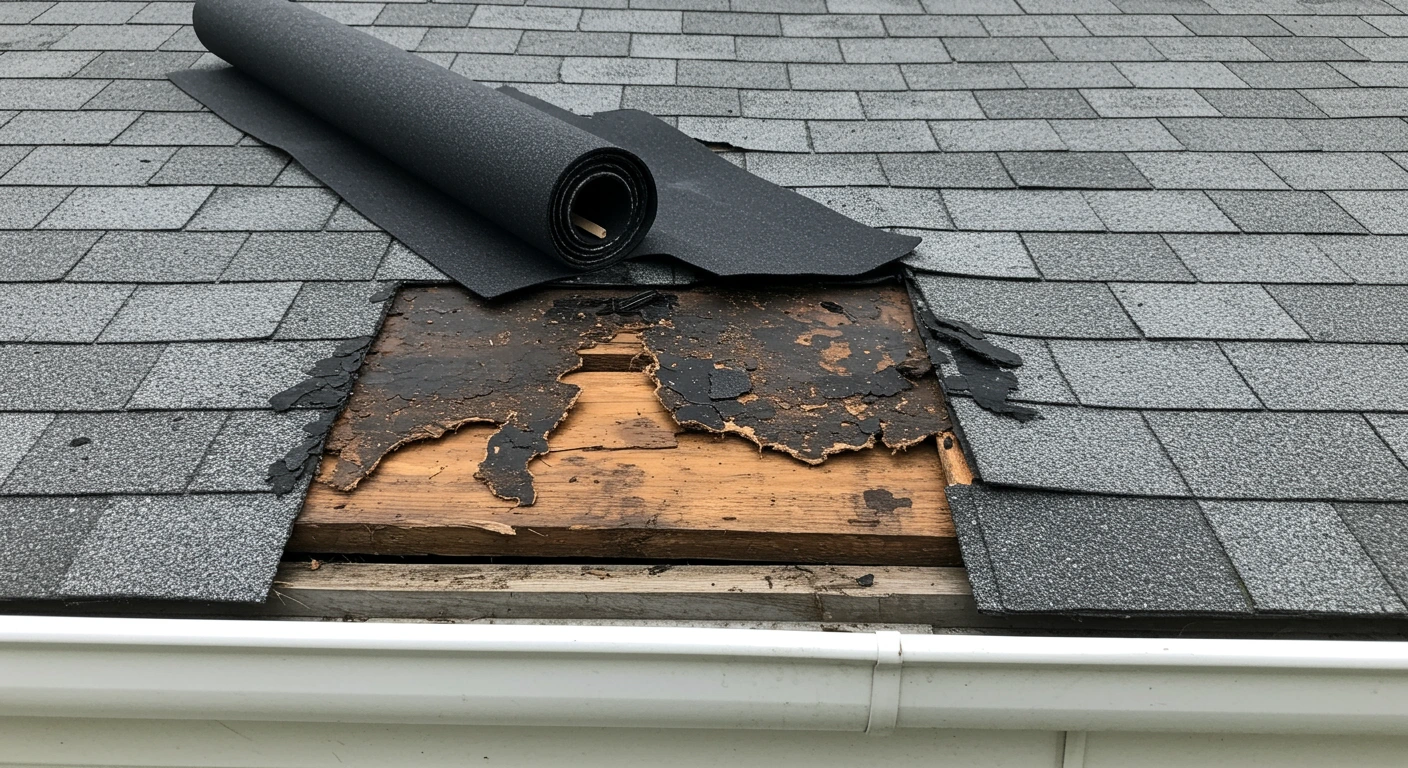
The Underlayment Isn’t Playing Nice
Shingles may not lay flat if the underlayment has warped or is wrinkled. For example, if the installation was done in high winds or if the deck underneath had moisture-related problems, your shingles might not turn out to be smooth. While not extremely common, a warped underlayment requires professional correction, which means removing the affected shingles, fixing the layer underneath, and reinstalling.
4. Stacking new shingles over old ones = Trouble
Some contractors, not the good ones, may install new shingles over an existing layer. At Kickapoo Roofing, for example, this practice is strongly discouraged.
Why? Because it creates problems like shingle buckling and uneven surfaces. Imagine trying to build a building on top of a broken one. It will crumble, right? The old shingles underneath can cause interference with the new shingles underneath, which often leads to water seepage, leaking, and other expensive problems down the line. So, always opt for a complete removal before installing new shingles!
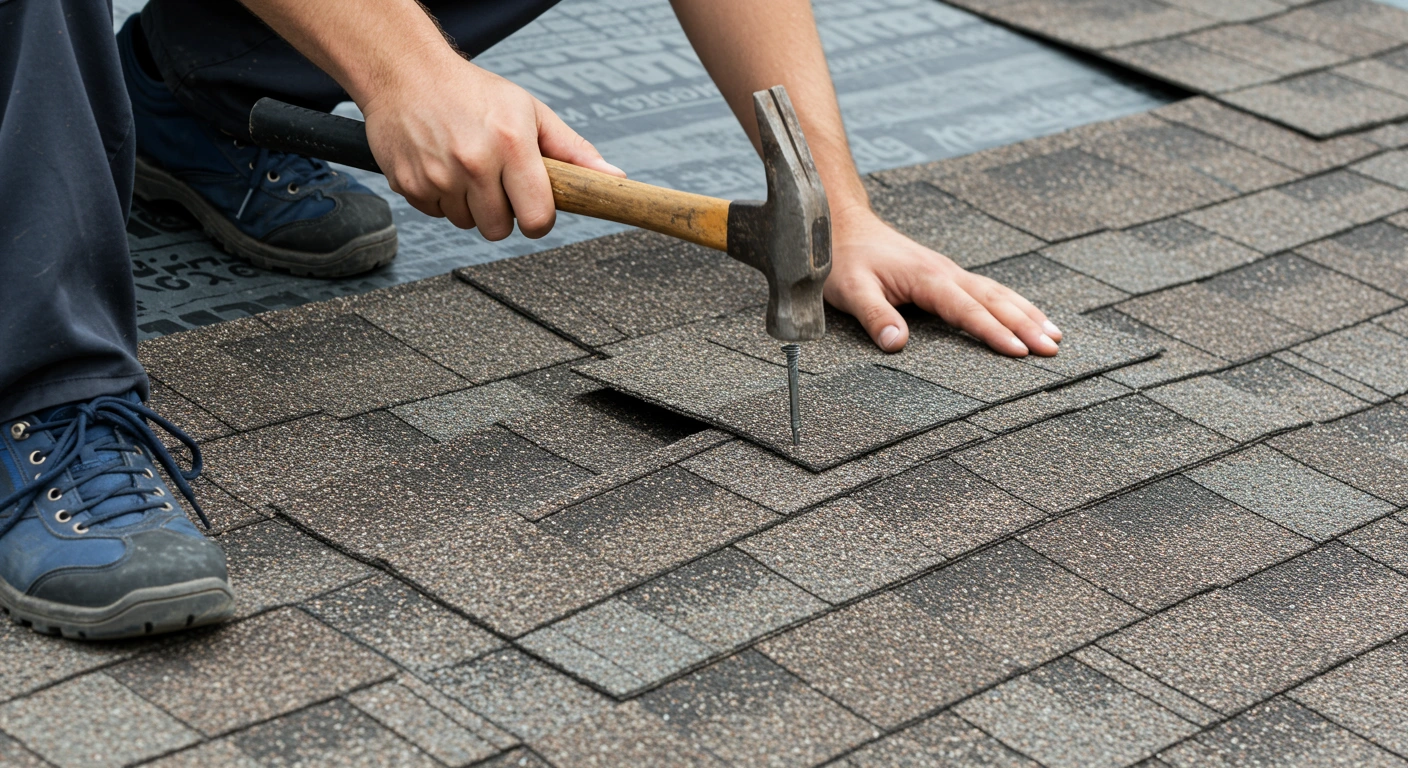
5. Nail It or Fail It
High nails are a sneaky problem. If the nails holding your shingles are driven too high, too shallow, or even overdriven, they can raise the shingles. This results in a wavy appearance, a clear sign of shoddy installation.
Improper nailing may also create more vulnerability to wind damage in the shingles. If you notice any lifted areas, don’t waste any time and have a professional re-nail the shingles down, and while they’re at it, they can check the rest of the roof, too!
6. When the Installation Itself Is the Problem
Improper adhesive, bad ventilation, or shoddy artistry can lead to shingles that rise, bend, or warp. This goes beyond mere looks; it can have a big impact on how well your roof works and even how long it lasts.
7. Not All Shingles Are Created Equal
Like any other product in the market, not all shingles are the same. If your roofer used substandard shingles or didn’t do a great job with the underlayment, your shingles might bend or warp, especially when the weather gets rough.
8. The Silent Stress Test Every Roof Faces
Even if your roofer did a great job at installation, your shingles could be battling against the weather. If you live in areas where there are strong winds, hail, or too much sun exposure, then your shingles might curl or distort over time. And with lower-grade shingles or the ones not sealed properly, the chances are even higher!
Are Uneven Shingles Just Ugly Or Actually Risky?
While it might seem like a small visual defect, shingles that don’t sit flat can trigger a domino effect of serious problems. Here’s what could be brewing beneath the surface:
Water Leaks: Gaps between the shingles let water in, which can damage your home’s interior.
Mold and Rot: Persistent moisture can lead to wood rot or mold growth.
Energy Inefficiency: A bumpy roof can hinder your attic ventilation, which could end up increasing your energy bills.
Structural Damage: Over time, your roof deck, rafters, and walls can become weak due to long-term exposure to leaks and moisture.
So Your New Shingles Aren’t Flat; Now What?
Let’s say you’ve spotted the signs. It’s one thing to spot the issue. Figuring out what to do next? That’s where it gets tricky. Here’s how to approach the situation with clarity and control. Don’t get overwhelmed just yet, we have got you covered:
Start by Capturing the Evidence
Start by taking clear photos from multiple angles. You’ll want this for reference esp, especially if you need to contact your contractor or make a warranty claim.
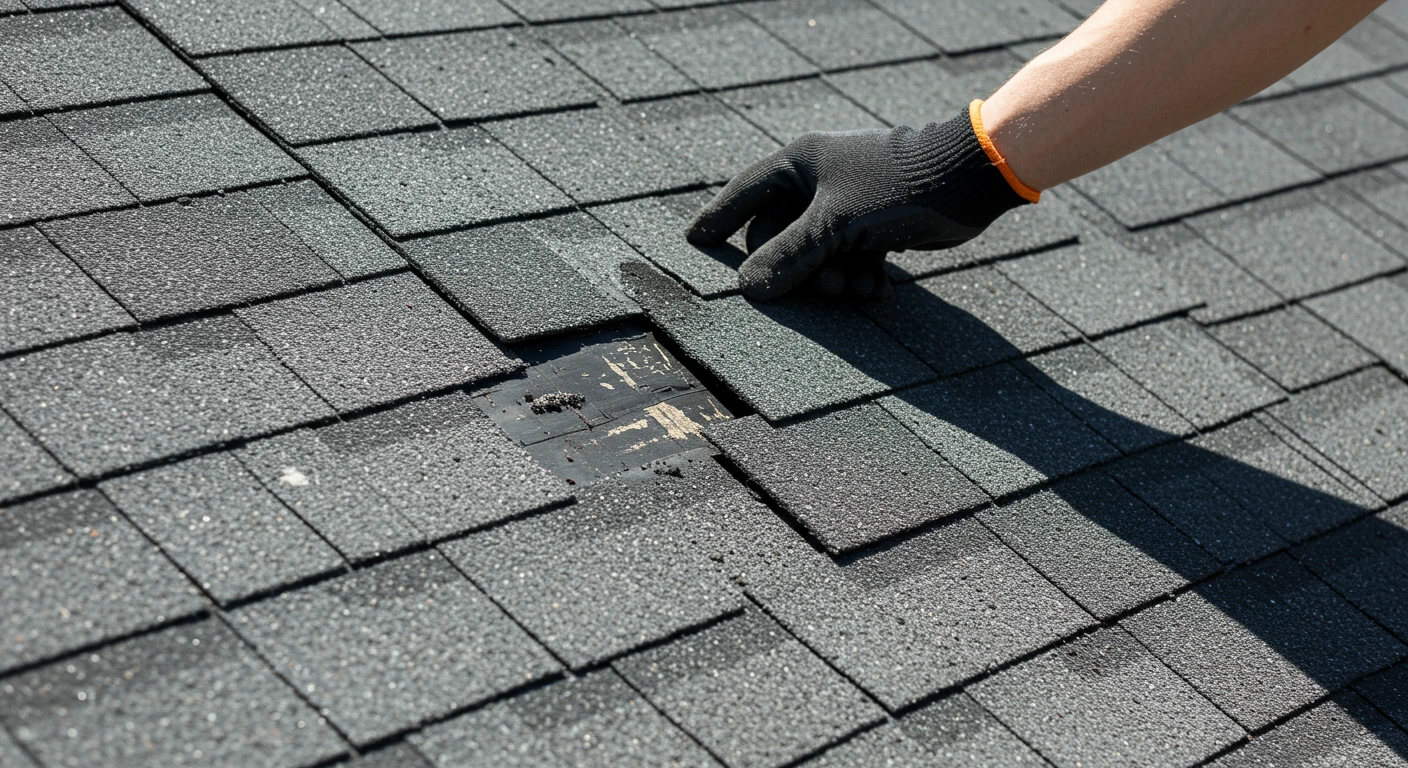
Call In the Experts (No, Not YouTube)
Resist the urge to fix it yourself. Roofing repairs require specific tools and experience. Call a trusted professional to inspect and diagnose the issue.
Get the Full Picture
Have the roofer examine the condition of the shingles, underlayment, flashing, and roof deck. You will want a complete understanding of what has gone wrong before you begin any repair.
Compare Solutions, Not Just Prices
Don’t just go with the first contractor you find. Compare estimates, warranties, timelines, and services before committing. After you have reviewed repair options, look for what you need: Spot replacements, Re-sealing, Underlayment correction, Or full reinstallation.
Understand the Coverage You Already Have
Before paying out-of-pocket, check your warranty coverage. There are two main warranties to look at:
- Manufacturer’s warranty, which covers material defects.
- Installer’s warranty, which covers installation errors.
This is going to save unnecessary expenses and get your job done.
What Happens After the Diagnosis?
Schedule repairs promptly: Procrastination Can Cost You
We have all, at one point, wished a problem would just go away. But that’s a recipe for disaster. So, don’t put off the repair for too long. Delaying this can lead to more damages, bigger problems, and even more expensive repairs down the road!
Stay involved during repairs: Be Present to Protect Your Investment
Keep in touch with your contractor. Monitor the work to ensure everything is being addressed correctly.
Keep the Momentum Going After the Fix: Commit to your roof’s maintenance
Once the issue is resolved, stay proactive. Schedule annual inspections, keep your roof clean, and address any new signs of damage quickly.
Keep Records Organized: Proof Pays Off Later
Store all photos, inspection reports, quotes, and repair receipts. This will help if you ever sell your home or file another claim.
Let’s talk Money: How much are we looking at to Reinstall Shingles?
Unfortunately, unfixing shingles isn’t always cheap:
Labor Costs: Removing and reinstalling shingles is labor-intensive.
Materials: You may need to buy replacement shingles or new underlayments.
Extras: Disposal fees, permits, and potential structural fixes can drive up the bill.
Depending on how bad the problem at hand is, costs will differ greatly. But remember, fixing it sooner is always less expensive than delaying the repair!
What’s Standing Between You and a Problem-Free Roof? Your Contractor.
The truth is, the longevity and performance of your roof often come down to one decision: who you hire to install it.
Choosing the right contractor isn’t just about who gives you the lowest quote; it’s about who’s capable of doing the job right the first time. A skilled roofer brings more than just tools; they bring expertise, accountability, and protection. So, how do you know you’re making the right choice?
It usually shows in how they’re talked about. A contractor with a strong track record will leave behind a trail of satisfied homeowners and solid reviews. They’ve likely been doing this long enough to avoid the common errors that inexperienced roofers still make.
And it’s not just about skills; it’s about legitimacy. A properly licensed and insured roofer doesn’t just shield your roof – they protect you, too. Without those credentials, you’re taking a risk neither you nor your insurance can’t afford.
This brings us to the confidence roofers have in their jobs. The kind that comes with offering a warranty. Roofers who stand by their work aren’t afraid to put it in writing. And if they won’t? That says more than they think it does.
In short, your roof is only as reliable as the hands that built it. So, make sure you’re picking a contractor who’s worth trusting!
Wrapping it up
Realizing that your new roof shingles aren’t lying flat can definitely be a bit concerning, but don’t stress; you’re not the only one facing this. It’s nothing unfixable!
Sometimes, it just takes a little time for the shingles to settle. Just let the sun do the work for you. But make sure you don’t miss any warning signs in the process. So, start by keeping a record of what you observe, reach out to a reliable roofing expert if needed, and make sure to stick to your regular inspections. The earlier you deal with the problem, the less money it will end up costing you. Plus, knowing your roof is doing its job to protect your home will give you the good night’s sleep you need.

