Removing the delta shower handle with no visible screws can seem easy initially, but it becomes tough to make it happen. Because shower handles are the most important parts of a Delta shower, removing the handle can be a frustrating task. These shower handles play a vital role in managing water pressure and flow while taking a bath. You should know that if your Delta shower handle lacks a set screw, it is severely rusted and has disintegrated. However, your shower handle should be extremely loose against the wall. Check for any extra screws before removing the handle.
Let us go through this informative guide to remove the delta shower handle with no visible screws. This will help you to handle the removing od handles without any confusion or hassle.


Things to be aware of before removing the shower handles: Don’t make these mistakes
There are various things you should be aware of, as they might cause confusion and further frustration. As you are not a professional plumber, these will help you with the handle-removal process.
Removing a Delta shower handle may seem simple at first, but it can quickly become a complicated challenge. The most common problem is not knowing where the screws are or how to take the handle off without damaging the finish. Many handles conceal screws beneath caps or in recesses that are not immediately visible.
Also, if mineral deposits have accumulated over time, the handle may be stuck solidly. You should avoid yanking too hard, as this could damage your shower valve or tiles. This is especially true if your bathroom is older; components may be brittle or rusted.
What tools can you use to remove the handle?

Before we begin the topic of removing the handles, it will be very beneficial for you to know about the tools you can use to remove the delts shower handles with no visible screws. This will reduce your stress and improve the smooth removal of handles.
First is a small flathead screwdriver (to take off plastic covers), which is used gently remove little plastic or ornamental caps from handles or knobs. These covers typically conceal screws beneath. The flat edge lifts the cap without breaking it.
Second is Soft Cloth, which will help protect surfaces from scratches. Placed around the handle or tool area to avoid scratches or damage to surrounding surfaces while operating.
Third is to use an Allen wrench (hex key) or a Phillips screwdriver (depending on the kind of set screw). Used to loosen or tighten the screw that secures the handle in place. Allen wrench – for hex-shaped screws. Phillips screwdriver is for cross (+) shaped screws.
Last but not least If the handle is stuck, use penetrating oil (e.g., WD-40). Spray over tight or rusty parts to reduce friction and break rust, therefore loosening stuck handles or screws.
Steps to Remove Handles of Delta Shower without Visible Screws
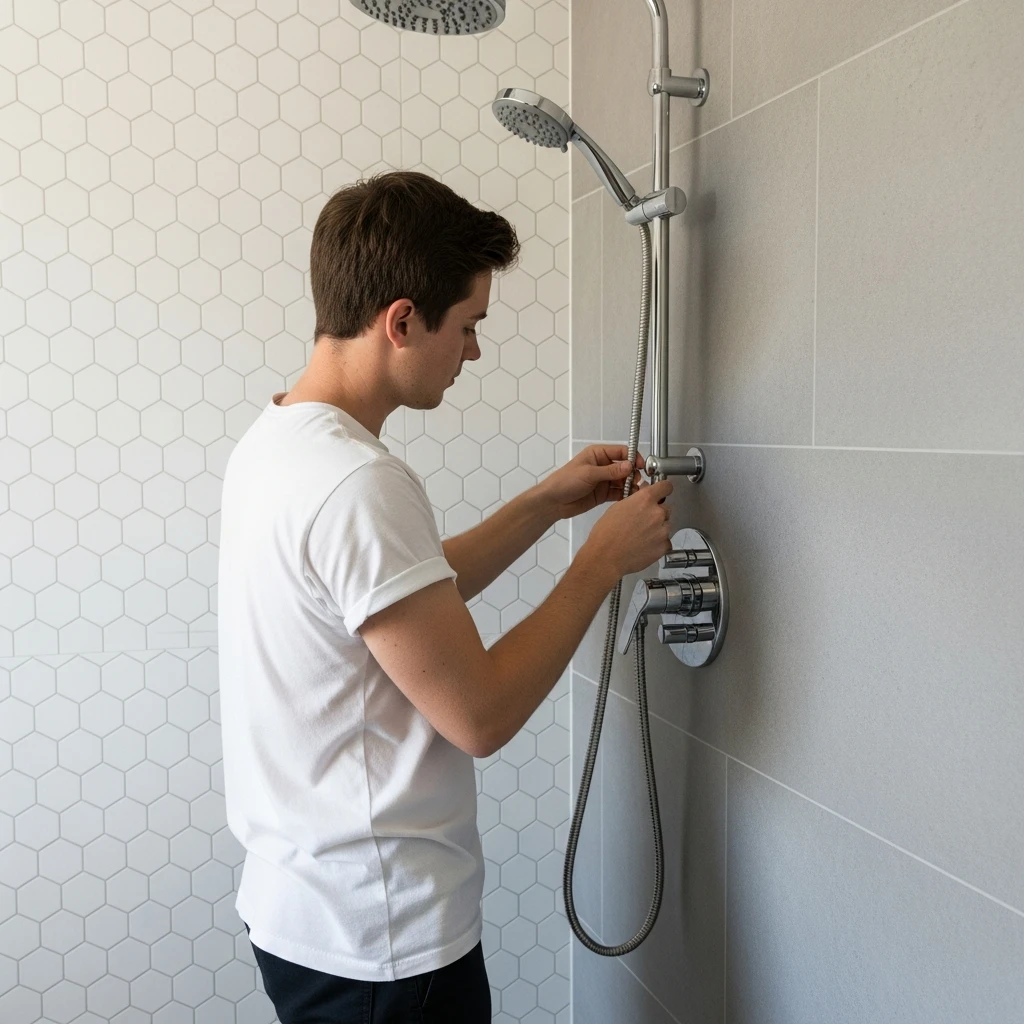
Let us understand how you can easily remove the delta shower handle without visible screws.
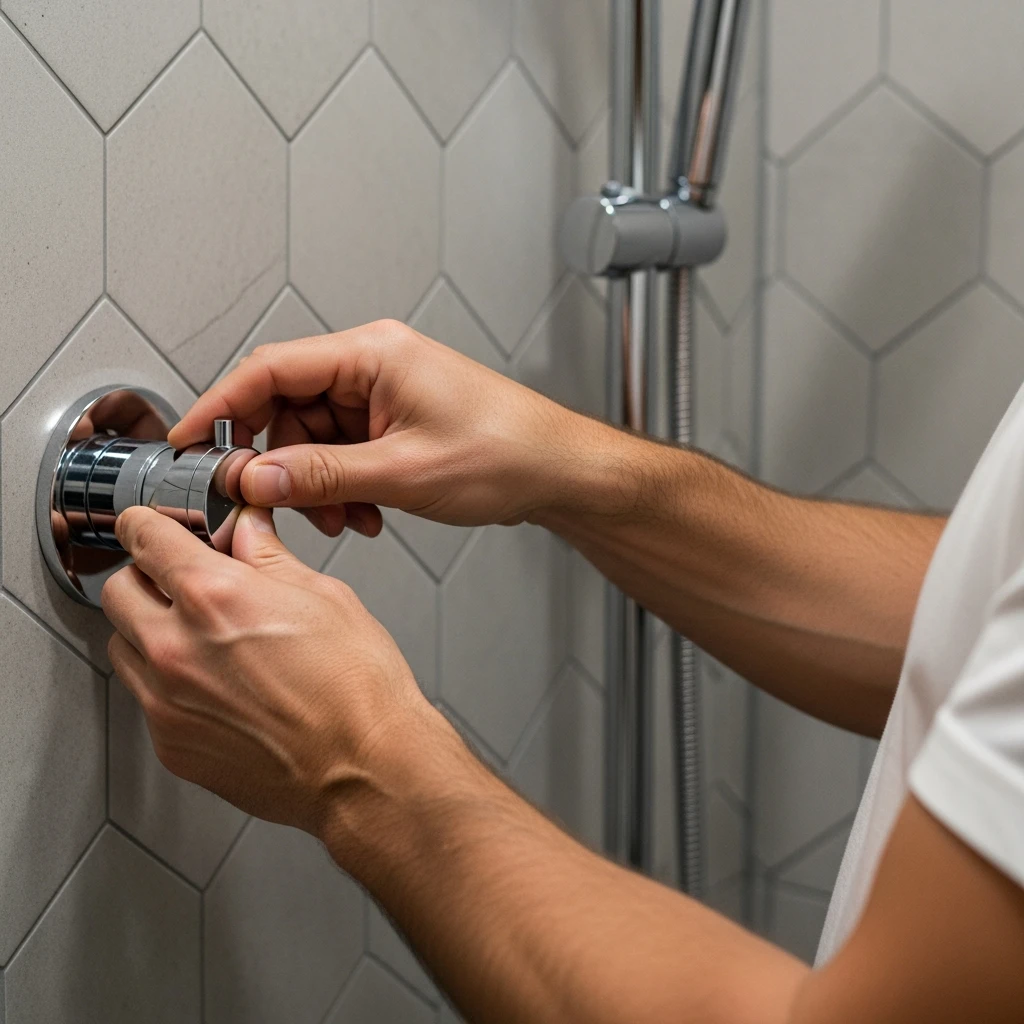
Step- 1
Identify the handle type and look for fasteners.
Most Delta shower knobs include a little plastic cover on the front, middle, or side. This cap covers the set screw that keeps the handle in place. Use a flathead screwdriver or your fingernail to carefully push this cover off. Be delicate here; you don’t want to scratch the finish or ruin the cap.
Step- 2
Loosen the set screws.
Use the appropriate Allen wrench or screwdriver to release the set screw. It may feel tight, so don’t force it. Unscrew carefully until it is completely loose.
Step-3
Disconnect the handle.
Now pull the handle straight out. If it feels stuck, gently jiggle it back and forth. Do not use metal tools to peel it off since they may scratch neighbouring surfaces.
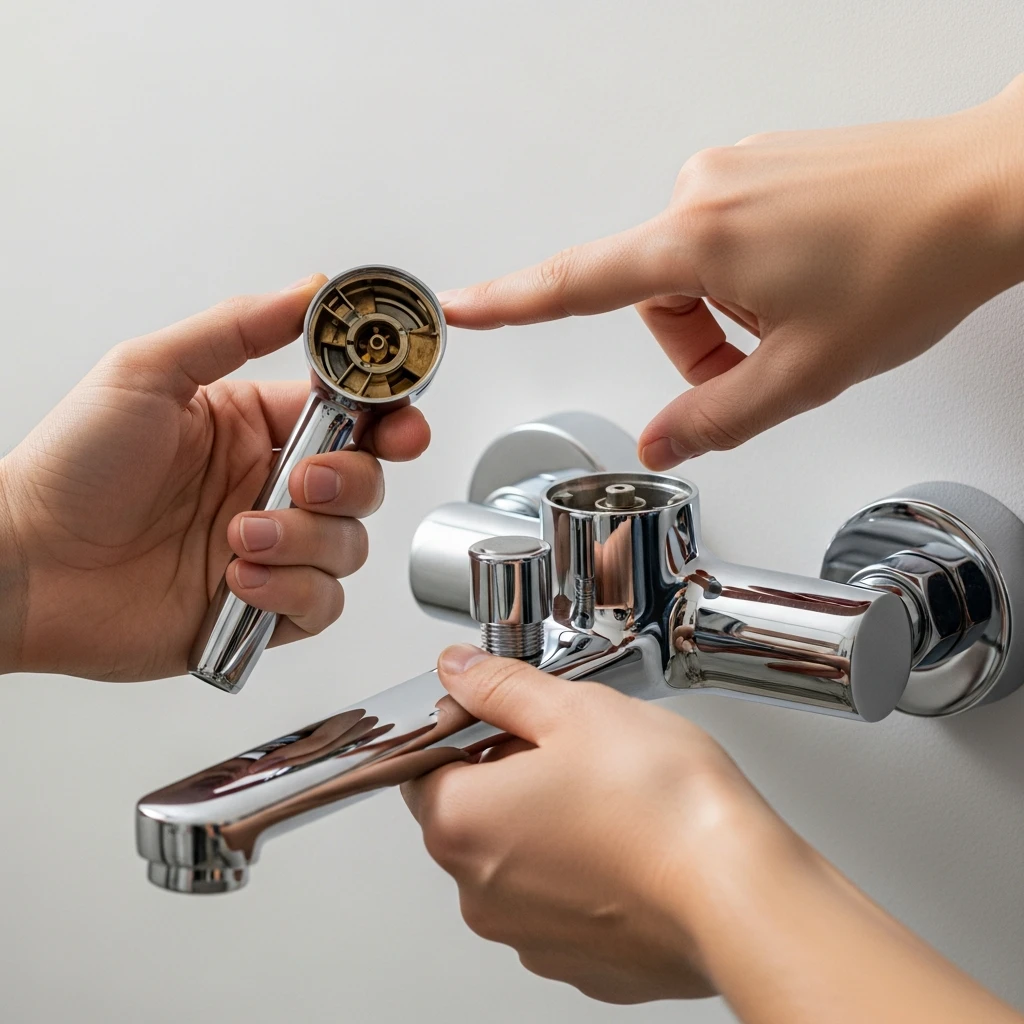
Step-4
Access Faucet Components.
After removing the handle, you’ll normally see the cartridge or valve stem. If you’re removing the handle to replace the cartridge, you’re at the proper place.
How much will it cost you to call a plumber to remove the delta shower handle?
It becomes important for you to know how much a plumber will charge form you to remove the delta shower handle with no visible screws. Plumbers charge an average of $42 per hour in the United States. Most need at least a 30-minute visit, and you may be charged for travel expenses. Delta faucets may cost several hundred dollars.
As a result, the plumber’s installation fee will be a small percentage of the faucet’s cost. In this situation, expect to pay between $60 and $150 for a new installation.
How to Protect your shower from damage?
As you all know, that preveetion is better than cure. There are several ways to protect your delta shower from serious damage. An annual inspection of your Delta shower handle helps maintain its durability and peak functionality. To prevent mineral deposits and soap scum from forming, clean the handle with a soft cloth and mild soap.
Avoid using harsh cleaners, as they may damage the finish. To ensure smooth functioning, inspect the valve stem regularly for signs of wear or corrosion, and lubricate it as needed.
If you follow these important aspects, this will save you money that may be spent on shower replacement or repairs.
Conclusion
It can be easily concluded that, after reading all the above information, you will be able to remove the delta shower handles with no visible screws. Removing a Delta shower handle is typically a straightforward procedure that homeowners can complete with basic tools.
Whether your model has a set screw or not, proper handling is required to avoid damage. Regular maintenance and timely repairs can also help prevent plumbing problems and provide a comfortable shower experience. When in doubt, always speak with a professional to ensure that the task is completed pr operly and correctly.


